Where the Kettle Lands: Mapping Kitchen Power Before the Plasterboard Goes Up
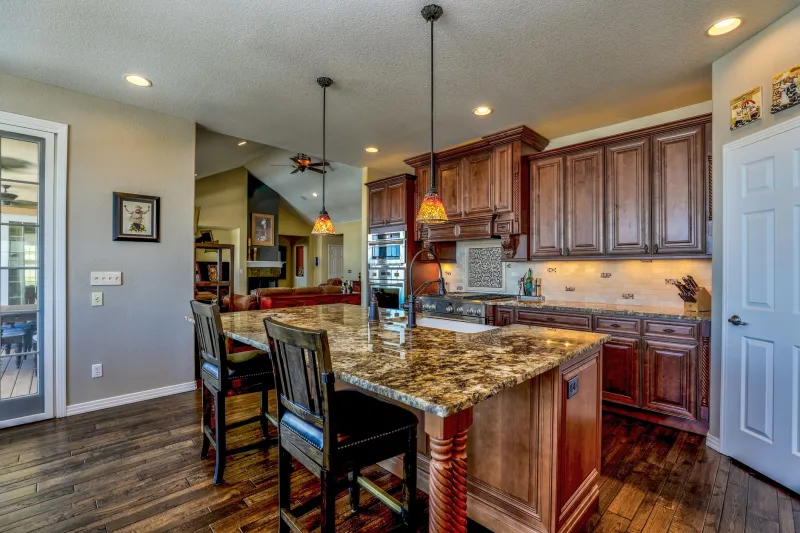
Power planning has a habit of arriving late to the party. The cabinetry is drawn, the worktop is chosen, the lighting has been debated for a fortnight — and then someone asks where the sockets go. At that point the electrician can only work with the layout in front of them, not the one you will actually live in. A kitchen socket plan is a design decision, not a trade afterthought, and the best time to make it is before first fix.
Begin with a plug-in audit
Walk through a normal day in your head, then write down everything that asks for power. The kettle and toaster are obvious. Less obvious are the coffee grinder, the hand blender, the air fryer, the phone charger, the laptop, the smart speaker, the robot vacuum dock and the under-sink hot tap. Group them into stations: breakfast, cooking, cleaning and charging. The question is not how many appliances you own; it is how many will be in use at the same time, in the same place, at 6pm on a Tuesday.
Worktop runs: height, spacing and the two-gang habit
A line of single sockets along a worktop is rarely the answer. Two-gang sockets give you more usable outlets without turning the splashback into a grid, and they suit the way small appliances cluster. In the UK, sockets are often set around 100–150mm above the worktop, or integrated into the splashback itself, but the exact height is a conversation between you, your electrician and your tiler. Keep sockets clear of the sink and hob zones, and check the manufacturer guidance for anything fixed. USB-C outlets are worth having at charging points, especially where a socket will mostly serve phones and laptops, but do not make every outlet a USB outlet. The charging standard will move on; a good old 13A socket will not.
Islands and peninsulas: decide before the slab
Island power is where good intentions go to die. If the island is fixed after first fix, your options shrink to floor sockets, surface-mounted trunking or a trailing lead across the walkway. None of those is a design feature. Decide early whether you want a pop-up socket tower, a concealed floor socket or a conduit route up through the island. If the island includes a hob, sink or dishwasher, plan the isolation and water connections at the same time. Keep pop-up outlets away from wet zones and think about the overhang: a socket that clashes with a stool is a socket you will not use.
Tall housings and the isolator question
Built-in ovens, microwaves, fridge-freezers, dishwashers and washing machines all need a way to be isolated without dragging the appliance out of its housing. A switched fused connection unit above the worktop or in an adjacent cupboard, clearly labelled, is the usual solution. Do not let a socket end up behind a back panel or in the dead space beside a tall cabinet. Ask for a simple schedule: which appliance, which isolator, which circuit. Label the consumer unit in plain English. Future you, standing in the dark with a torch, will be grateful.
The sharing problem
The 6pm scramble is the real test. A kettle and a toaster on one double socket is normal. Add an air fryer, a coffee machine and a child charging a tablet, and you are asking a lot of one corner. Extension leads and multi-way adaptors are not a design solution; they are a symptom. Give the breakfast station its own outlets, keep the cooking run separate, and put a charging point where phones actually land. If you use a lot of small appliances, say so now. It is much easier to add a socket at first fix than to chase a wall later.
Switched spurs and the small print
Switched fused connection units are useful for fixed appliances, extractor hoods and other hard-wired equipment, but not everything needs one. The important thing is that your electrician knows what each circuit is for and that the isolation points are accessible. Use a registered electrician and check whether the work needs notifying under the Building Regulations. If you are choosing USB-C sockets, buy reputable ones and check the power delivery output rather than assuming all USB-C is equal. A socket is a small piece of the budget; getting it wrong is a daily irritation.
Walk it before the boards go up
Before the plasterboard goes up, stand in the room and walk the layout. Mark socket positions with tape or chalk. Open the cupboard doors and pull out the drawers in your mind. Check the route from the sink to the hob, the fridge to the worktop, the island to the table. Then test the plan against real appliances, not pictures of them. The goal is not the maximum number of sockets. It is a kitchen where the kettle lands naturally, the phone has a home, and no one has to unplug the toaster to charge a laptop. At Crown Kitchens, we would rather have that conversation at the drawing stage than at handover.